Guide · September 30, 2026
How to Bulk Create Posts in Canva: 2026 Guide
Learn how to bulk create posts in Canva using CSV files and templates. Follow this 2026 guide to batch design social graphics without layout errors.
 By Jaime · Co-founder of Quetzal

To bulk create posts in Canva, open your design template, navigate to Apps in the left sidebar, open Bulk Create, and choose Upload CSV or enter data manually. Right-click each placeholder text box or image frame on your canvas, select Connect data, choose the corresponding column name, click Continue, and select Generate pages.
Batch designing social media graphics removes the repetitive chore of retyping quotes, statistics, or product tips across dozens of individual design files. By linking an external data table to dynamic design elements, marketing teams can produce weeks of static assets in minutes.
However, setting up the source data incorrectly or choosing the wrong template boundaries can lead to broken layouts, misaligned text boxes, and hours of post-generation cleanup.
This guide explains the mechanics of Canva Bulk Create, the structural requirements for your data spreadsheets, how to handle dynamic images, and the operational boundaries between bulk graphic generation and end-to-end social media publishing.
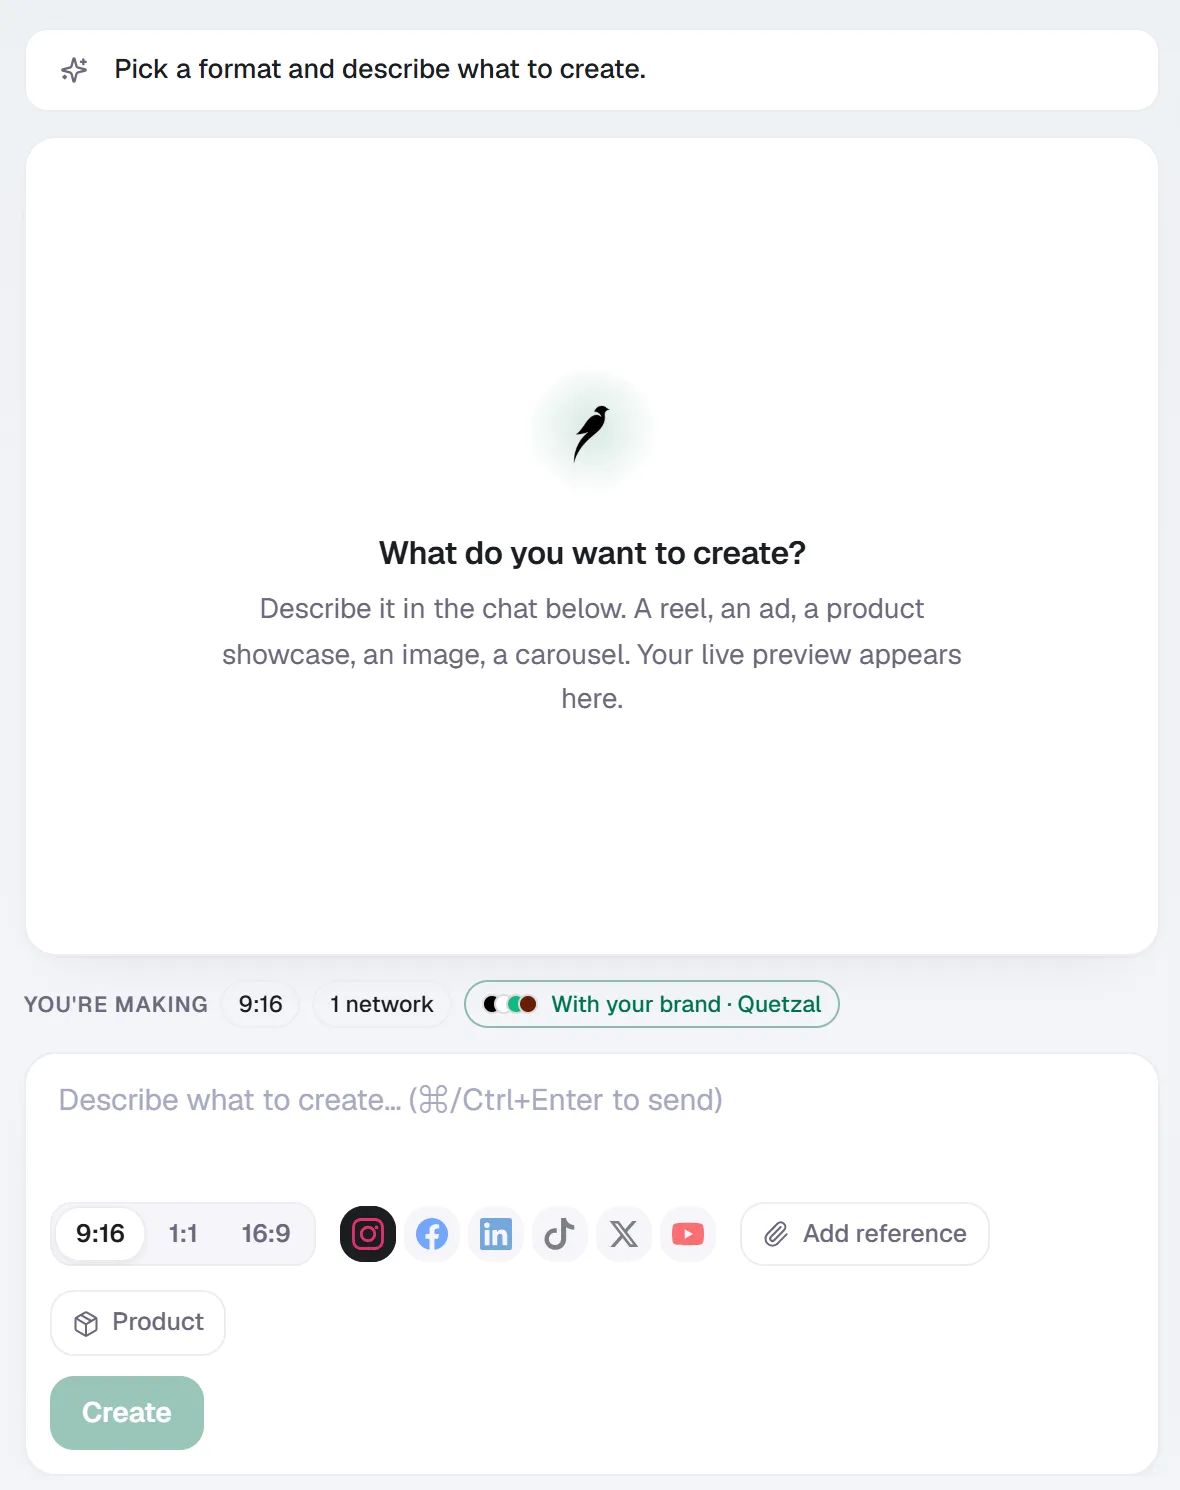
Create in Quetzal: describe the piece in a sentence, pick the format and the networks, and it is made with your brand applied.
Preparing your CSV or spreadsheet data for Canva
Canva Bulk Create works by taking a structured table of information and mapping each column to an editable layer on your canvas. Before opening Canva, you must structure your spreadsheet so the platform can parse each cell without formatting errors.
You can create your data inside Google Sheets, Microsoft Excel, or Apple Numbers, then export the file as a plain Comma Separated Values (CSV) file. Alternatively, Canva allows you to paste or type data directly into an in-app spreadsheet modal.
For reliable imports, structure your spreadsheet according to these structural requirements:
- Row 1 must contain clean column headers: Canva uses the first row of your sheet as the variable name. Use short, distinct labels such as
Headline,Subtext,Author,Category, orImage_URL. Avoid punctuation marks, special characters, and trailing spaces in the header row. - One row equals one generated post: Each horizontal row below your header row will generate an independent page in your final Canva document. If you have 30 rows of copy, Canva will generate 30 distinct pages.
- Use standard UTF-8 encoding: If your posts contain non-English characters, accents, or currency symbols, export your CSV file with UTF-8 character encoding. Non-standard encoding can cause Canva to replace accents and punctuation with broken question marks or blank spaces.
- Wrap complex text in standard quotation marks: If a cell contains internal commas (for example, a quote that includes dialogue), your spreadsheet editor must export that cell enclosed in double quotation marks. Otherwise, the CSV parser will split the sentence across multiple columns.
| Field Type | CSV Column Example | Supported Canva Canvas Element | Layer Behavior |
|---|---|---|---|
| Primary Text | Headline |
Standalone Text Box | Wraps within defined bounding box |
| Secondary Text | Subtext / Author |
Secondary Text Box | Inherits parent font size and style |
| Numerical Data | Statistic / Metric |
Numeric Display Layer | Retains exact numeral formatting |
| Category Tag | Topic |
Badge or Pill Text Box | Can be centered inside background shapes |
| Image Asset | Image_Placeholder |
Image Frame or Grid | Requires manual upload or table mapping |
Source: Canva bulk create interface specifications, 2026
Before opening Canva, build out your themes using a structured tool like a free content calendar generator or an editorial spreadsheet. Knowing your exact line lengths ahead of time prevents text overflow issues once the batch generation begins.
Step-by-step: How to use Canva Bulk Create
Canva Bulk Create is available on Canva Pro, Canva Teams, Canva Enterprise, and Canva for Education accounts. The process requires a single base design that serves as the visual master template for every generated page.
Step 1: Build the primary layout template
Start by creating a design in the target dimensions of your chosen channel, such as 1080x1080 pixels for square Instagram and LinkedIn posts, or 1080x1350 pixels for portrait feeds.
Add every visual element that must appear on every post:
- Your brand logo and company website URL.
- Background colors, textures, and gradient overlays.
- Text boxes for your headlines, body copy, and metadata.
- Frames or grids if you intend to include photography.
Lock the background layers and static assets (like your logo) to prevent them from shifting accidentally during data connection. Give your placeholder text boxes realistic lengths. If your quotes average 25 words, do not test your template using a 3-word placeholder.
Step 2: Open the Bulk Create application
In the Canva editor sidebar on the left side of the screen, scroll down to the Apps icon. In the search field, type "Bulk Create" and click the app icon.
Once open, the Bulk Create panel displays two options:
- Upload CSV: Recommended for large batches, pre-approved editorial calendars, or datasets with more than 10 rows.
- Enter data manually: Useful for quick 5-post batches or if you prefer pasting columns directly from your clipboard into Canva's built-in table editor.
Managing large batches of content this way reduces graphic assembly time, but it still requires manual oversight across copy generation, file downloads, and platform uploads. Teams looking to eliminate repetitive spreadsheet formatting can test an automated visual workflow that translates a business website directly into finished, scheduled assets.
Step 3: Upload the CSV or input data manually
If selecting Upload CSV, locate the file on your local drive and click open. Canva will parse the file and display your column headers as selectable data tags with purple icons in the sidebar.
If choosing Enter data manually, an empty table modal appears. Click Clear table in the bottom-left corner to remove the default dummy data. Paste your spreadsheet rows directly into the cells. Click Done in the bottom-right corner when complete.
Step 4: Connect data points to text layers
Return to your visual canvas to map the data tags to their respective elements:
- Right-click the text box intended for your headline.
- In the context menu, hover over Connect data.
- A sub-menu will display the column headers found in your CSV. Click the corresponding header (for example,
Headline). - The text inside the bounding box will change to display the variable name enclosed in curly brackets, such as
{Headline}. - Repeat this process for every dynamic field on your canvas, such as author names, category tags, or body copy.
A checkmark will appear next to each connected field inside the Bulk Create sidebar panel, confirming the linkage.
Step 5: Review and generate the batch
Once all target elements are connected, click the purple Continue button at the bottom of the Bulk Create sidebar.
Canva will display a checklist of every row contained in your dataset. By default, every row is selected. You can uncheck individual rows if you want to exclude specific items from this generation run.
Click Generate pages (this button will state the exact number of pages, such as "Generate 25 pages"). Canva will automatically open a brand new design document in a separate browser tab, with each page populated by a distinct row from your spreadsheet.
Connecting images and dynamic visual assets in bulk
While text substitution is straightforward, bulk creating posts with dynamic photography requires specific structural steps. Canva allows you to replace images across bulk pages, but you cannot simply paste image file paths from your hard drive into a standard CSV and expect Canva to locate them.
To bulk populate images in Canva:
- Add an image frame to your base canvas: Dynamic images can only connect to Canva elements that accept image drops, such as frames, shapes, or grids. Standard background layers cannot be linked directly to CSV image data.
- Use Canva's manual data table: Open the Bulk Create panel and choose Enter data manually.
- Add an image column: Above the table, click the Add image button. A new column with an image icon will appear alongside your text columns.
- Assign assets to rows: Click into each cell of the image column. A file selection window will open showing your Canva upload library. Select the uploaded image intended for that specific row.
- Connect the image frame: Return to your master canvas. Right-click the image frame, select Connect data, and choose your image column name.
When you click generate, Canva will populate both the text fields and the image frames simultaneously. If you need dynamic imagery across dozens of posts, ensure all photographic assets are pre-uploaded to your Canva asset folders before opening the Bulk Create module.
Troubleshooting Canva bulk create: Common errors and formatting bugs
Batch generation saves time only if the resulting output is visually balanced. Several common technical snags can corrupt your generated pages.
Text overflow and line-break collisions
The most frequent error in Canva bulk creation is text overflowing the visible canvas. Canva does not automatically adjust font size down when a cell contains more text than the placeholder box can hold.
If row 4 contains an 80-character headline and row 5 contains a 240-character headline, the longer headline will either push past the bottom of the canvas or overlap secondary elements.
To prevent text collisions:
- Constrain text box height: Select your text box, click the text alignment controls in the top toolbar, and set the vertical alignment anchor. Anchoring text to the center or top dictates how expansion occurs.
- Test the longest character count first: When designing the master template, paste your longest text string into the placeholder box. Size the typography so the longest text fits with adequate margins; shorter text will naturally fit without breaking the layout.
- Avoid grouping dynamic text with static shapes: If you group a dynamic text box with a background shape, Canva will not automatically resize the background shape when the text expands. Keep dynamic text separate from fixed accent graphics.
CSV delimiter and character encoding errors
If Canva displays an error stating "We couldn't read your CSV file" or mangles non-English typography, inspect the raw CSV file using a basic text editor like TextEdit or Notepad.
- Commas inside unquoted text: If a sentence contains a comma and is not properly quoted, Canva reads that comma as a column separator, shifting the rest of your copy into the wrong data fields.
- Smart quotes: Text exported from word processing software often contains curved "smart quotes" or special apostrophes. Ensure your file is saved as plain text UTF-8 to prevent these glyphs from rendering as null characters.
- Line breaks within a single cell: If your copy includes intentional paragraph breaks within one cell, verify that your spreadsheet application exports multi-line cells inside double quotation marks.
Data fields not connecting
If the Connect data option does not appear in the right-click menu, check the layer type you have selected. Canva only permits data connections to specific elements:
- Text boxes (standard paragraph, heading, and subheading layers).
- Image frames and grids.
- Shapes containing embedded text.
You cannot connect data to locked layers, grouped elements (unless you drill down to select the individual layer inside the group), drawn vectors, or animated video backgrounds.
Canva Bulk Create versus full social media automation
Canva Bulk Create accelerates graphic production, but it addresses only one segment of the publishing lifecycle. Understanding what the tool can and cannot do prevents operational bottlenecks in your marketing department.
When you complete a bulk generation run in Canva, the software yields a single design document containing dozens of visual pages. The downstream tasks required to turn those visual assets into active social media posts remain entirely manual:
- Manual export and file management: You must download the multi-page design as individual PNG or JPG files, unzip the archive on your local drive, and organize files for publishing.
- Caption writing: Bulk Create only handles text displayed inside the graphic canvas. It does not write platform-specific captions, calls to action, or hashtags.
- Distribution and scheduling: You must manually open each social platform or third-party scheduling tool, upload each image, copy and paste the corresponding caption, and pick publishing times.
- Multi-format limitations: Canva Bulk Create cannot dynamically render multi-slide carousels linked by row logic, nor can it generate fully edited video reels with synchronized audio.
For teams planning a sustained digital presence, graphic batching is only one piece of the puzzle; when executing a multi-week initiative (for more on structuring phases, read our guide on how to run a social media campaign), handling scheduling and captioning manually creates a persistent administrative burden.
| Feature / Step | Canva Bulk Create | End-to-End Autopilot (Quetzal) |
|---|---|---|
| Data Input Method | Manual CSV upload or spreadsheet copy-paste | Website URL analysis / Autonomous content engine |
| Graphic Generation | Multi-page static document from one template | Static posts, ads, carousels, infographics, stories |
| Visual Identity | Manual template design and element locking | Native brand identity (logo, palette, fonts, product photos) |
| Video Production | Not supported via Bulk Create | End-to-end AI reels: script, AI voiceover, synced captions |
| Caption Generation | None (canvas text only) | Platform-specific captions and hashtags authored natively |
| Publishing | Manual download or single-post manual scheduling | Direct publishing to Instagram, Facebook, LinkedIn, TikTok, X, YouTube |
| Performance Feedback | None | Measures every post at 1, 6, 24, 72 hours to adapt next week's content |
Source: Platform workflow comparison, 2026
Similarly, for freelance marketers scaling their deliverables to find social media management clients, offering graphic production alone leaves significant administrative overhead on the table. The client still needs copywriting, scheduling, format adaptation, and performance reporting.
If your team simply needs 30 quote tiles or tip graphics based on an existing template, Canva Bulk Create is an efficient, cost-effective tool. However, if your goal is an active, fully managed social media presence across six networks, relying solely on template population leaves 80% of the operational work unfinished.
You can explore how Quetzal's autopilot engine approaches this differently by combining generation, copywriting, multi-platform publishing, and performance tracking into a single workflow.
Generating ready-to-publish social content without spreadsheets
Template automation solves layout repetition, but running a consistent social channel still requires caption writing, hashtag formatting, multi-network scheduling, and ongoing performance analysis. If you want to bypass spreadsheet imports entirely and see finished, publication-ready campaigns built around your brand identity, you can generate a week of branded content in three minutes with Quetzal.
FAQ
Does Canva Bulk Create work on the free plan?
No, Bulk Create is restricted to Canva Pro, Canva Teams, Canva Enterprise, and Canva for Education subscriptions. Free users can find and view the Bulk Create app inside the Canva Apps directory, but uploading a CSV or generating pages will prompt an upgrade modal.
Can you bulk create Instagram carousels in Canva?
Not directly from a single spreadsheet row. Canva Bulk Create generates one standalone page per CSV row, meaning it cannot link multiple rows into a single multi-slide carousel post automatically.
To create carousels in bulk, you must either generate single pages and manually copy-paste them into a multi-page carousel file, or use software specifically designed for multi-slide generation.
What is the maximum number of posts you can bulk create at once?
Canva Bulk Create supports up to 300 rows of data per run. If your CSV file contains more than 300 rows, Canva will prompt you to trim the file or will import only the first 300 rows.
In practice, generating batches of 30 to 50 pages at a time is recommended to keep browser rendering responsive and to avoid lag when reviewing layouts.
Can Canva Bulk Create automatically write post captions and schedule them?
No, the Bulk Create tool only maps text and image data directly onto the visual canvas layers. It does not generate the accompanying post captions, metadata, or hashtags, nor does it automatically distribute those assets across your social channels.
Captions must be written separately, and each generated image must be manually exported or scheduled through a publishing tool.
Sources
- Canva application workflow and documentation (canva.com)
Really made with Quetzal
Real product output, untouched. What you see is what it generates.